~Minnie Mouse Tutu ~
So this is a very easy DIY tutu tutorial ! Perfect for Birthdays, dress up, or even a trip to Disney !
What you need:
*Scissors
*Tulle
( I used 2 rolls of 6x25yds )
*White Felt
( Not Pictured )
*Glue
*Measuring Tape
*Measurments
( See End of Tutorial For Various Measurments )
*Elastic
( Non-Roll)
*Satin Ribbon (Not Pictured)
*Lighter (Not Pictured)
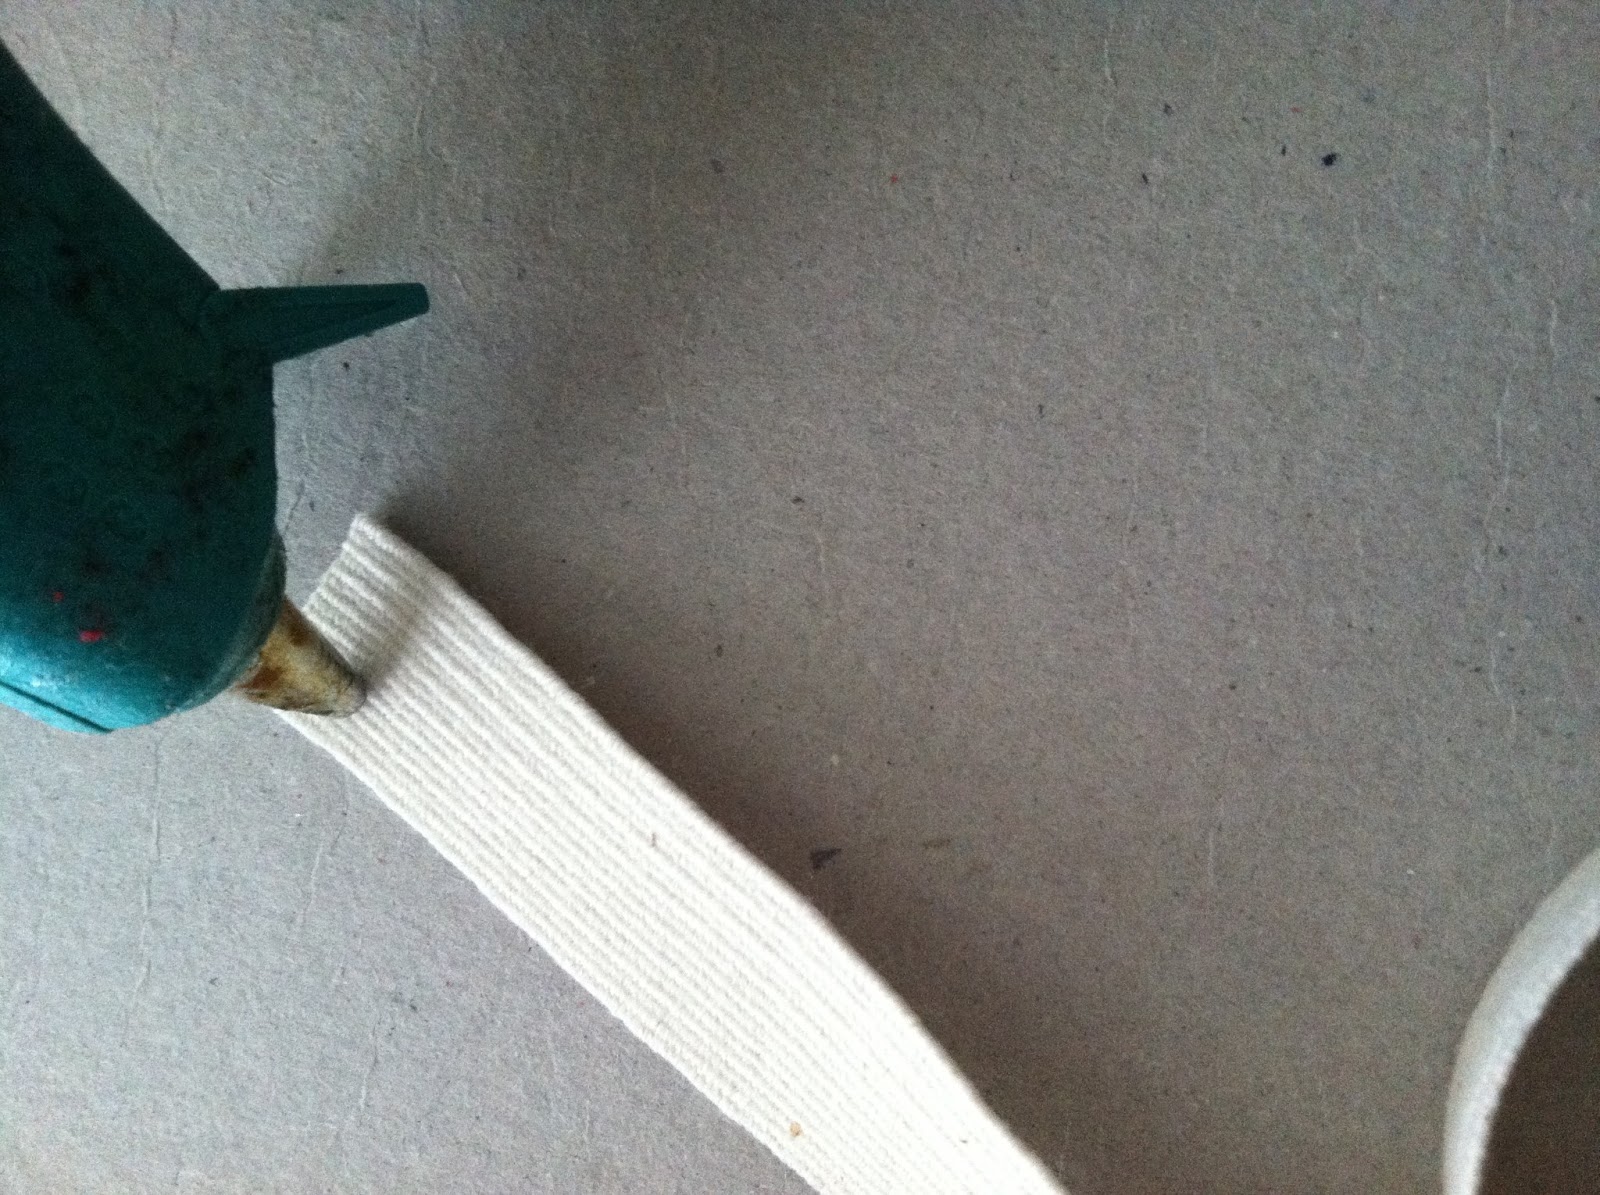
First you need to cut a strip of elastic, using you measuring tape you can measure your little ones waist and than add 2 more inches for a nice fit. If your making this as a gift you can check out the end of this tutorial for various sizes and lengths of tulle for each.
In this tutorial I am making an 18-24 mth tutu, the length of elastic I am using is 18in.
Once you have cut your strip, you need to glue the ends together ( NO SEW )
Please be aware glue is hot so be very careful !
If you do not have a glue gun, you can always easily sew each end together!
After you apply the strip of glue, press down hard and wait for it to dry
It should look like this once dry
Next you need to prepare and cut you tulle strips.
I am using two rolls of 6x25yds
because the length of my tutu is 10-11in , I will need to double that, so I will be cutting 20-22 inch each strip
Once you have all your strips cut, now starts the tutu making !
First you need something to hold your elastic band, I used a paper towel roll, which worked perfect !
Take One strip ( if making a more full tutu you can use two strips or more), and pull one end under the elastic and bring the other end over:
Taking the bottom strip make a loop, pull one end through and pull making sure both ends are even:
Now take one end, form a loop and pull through to make your knot. Make sure both ends are even.
When finish your first tulle strip should look like this:
Now Repeat these steps until you have a full tutu !
Once your tutu is full to your liking, were going to weave the satin waistband to give it a more clean look!
I use the whole roll and snip off whatever I do not use.
Take your light and hear seal the tip of ribbon.
Apply a strip of glue and press down on to the tutu ( Please be careful it may get hot !)
Starting from the back, bring the ribbon under a strip of tulle and over, then under the next strip and over again.
Repeat this step until you've reached the end of the tutu.
Once you've reached the end, heat seal once again and glue down.
Now you have a satin easy no sew waistband !
(Sorry I forgot to take a photo of it before I added the bow !!)
Next, We need to cut out the felt spots. I found that using the bottom of the tulle spool, (plastic piece that comes off), makes a perfect size !
Cut out as many as you would like or need:
Add a small dab of glue onto the spot and attach to different strips of tulle.
(WARNING, glue is sticky, and hot, please be careful!)
Optional, you can add a simple bow, polka dots, or plain red or black ribbon. And embellish it however you'd like and voila ! You have a Minnie Inspired Tutu :)
Well Hope you all liked this tutorial, It is my first, Please comment if you have tried this and let me know how you have done :)
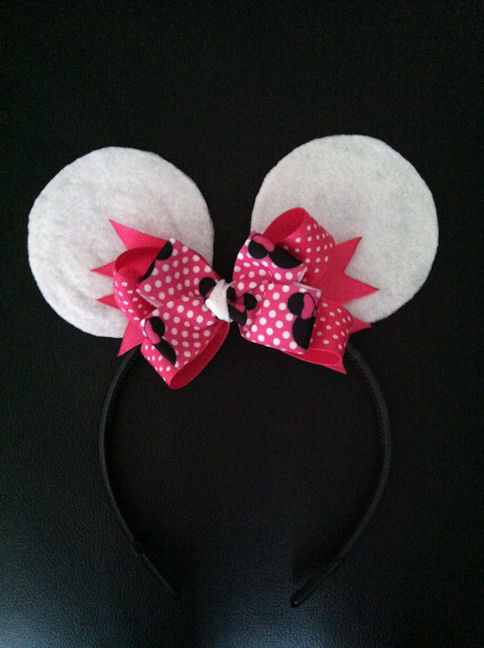
Here are some other photos of Minnie tutus I have done as well :
Tutu Sizes
6-12 Months: Skirt Length 10" Waist 16"
12-24 Months: Skirt Length 10-11" Waist Measurement 17-18"
2-3T: Skirt Length 13" Waist Measurement 18-20"
4-5T: Skirt Length 14" Waist Measurement 20-22"
6/7T: Skirt Length 16" Waist Measurement 22-24"
8/10T: Skirt Length 17" Waist Measurement 24-25"


.jpeg)


.jpeg)


